-
Official Android Tips & Tricks
The first section is kind of duh, but the app list is nice. Some cool Android tips and tricks @ The Official Google Blog
-
A snowball’s chance in hell, but it can’t hurt to try
On this page, you can apply to test drive a Google Chrome notebook. (thx bro)
-
Dropbox is addictive
Getting more Dropbox space is like earning achievements in your favorite video game. _/_/_/_/_/_/_/_/_/_/_/_/_/_/_/ It’s been a while since I wrote about Dropbox vs. Google Docs (for MS Office document…
-
Testing WordPress & Photoshop for Android
Nam needed a new mobile badly, so I bought a Galaxy 5 smartphone loaded with Android 2.1 (Eclair) for myself and gave her my old one. Who says romance is…
-
Get your own custom icon for comments on this blog
The icons (AKA avatars) that appear next to your name in the comments on this blog and many others is controlled by a company called Gravatar. If you sign up…
-
Mr. Roach Rides the Lightning
We hates cockroaches, yesssss we doesssss.
-
RIP Bloglines, wistrab Loris
So Bloglines is dead. Just as well, since it seems the owners are busy licking Twitterific balls. I’m glad I switched, even though it was a couple years late. Feeling…
-
The best spam to make it through my Gmail filters in recent times
It’s apparently Persian; I just think it looks cool. Reminds me of starting out in DTP straight out of Japanese university and learning how to lay out these texts running…
-
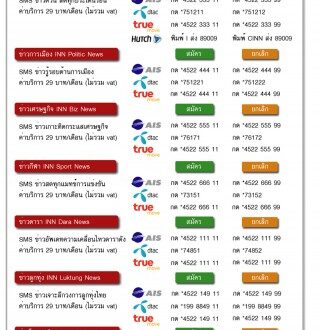
INN-DARA SMS Spammers deserve to die
I use text messaging on my mobile quite sparingly, as is the case with voice calls as well, since my life has become devoted to babies. So it’s a real…
-
Dropbox vs. Google Docs for document backup
Hey, that rhymes, yo. Before Dropbox came along (I actually tried 3 or 4 similar services, but Dropbox was the best), I was backing up all of my Office documents…
-
Chris Pongpitaya’s Supercar Knockoffs
…Because nothing says genuine 911 like a spoiler the size of a Cessna wing (and judging by the height of the hood, front wheel drive as well). (thx Mark) This…