-
More dead flash
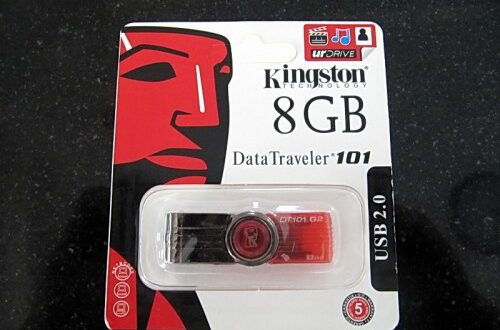
It seems my flash memory karma went to hell. After having to trash the new fake Kingston USB drive I bought, the 8GB Samsung Micro SD card in my HTC…
-
Fake Kingston Flash Drive
I went to the annual Chinese festival in downtown Maha Sarakham last month; this is one where they host Chinese opera at the business association meeting hall (I uploaded crappy…
-
Es verdad.
During my first year of study at Tenri University in Japan, I met my cousin Erisa. She was from a line of my dad’s family, the Yoshidas, who emigrated to…
-
Free SMS Messaging in Gmail
This could be a killer new feature for some people. Apparently Google at least partially pays for it by the return messages from the mobile device (that you’ve first sent…
-
Diasporical
#1 Rule for Social Networking Sites post-Facebook Domination: If you name your new service something uppity like Diaspora, Exodus, or Migration, we expect you kick things off by nuking your…
-
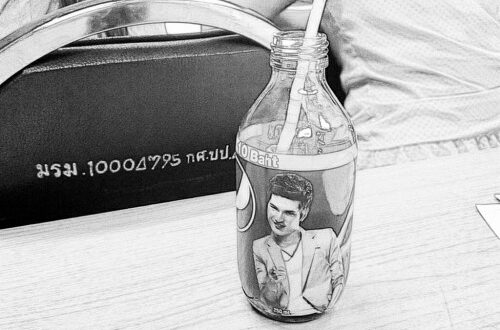
Line Sketch Filter
Taken during a meeting a couple weeks ago on my HTC Desire HD with Camera 360. I’m really happy with this phone.
-
Cheap Nikon Body
We picked up a Nikon D40 body, the successor to my trusty D50, with a charger and two batteries for 3,000 baht (exactly $100 US today). On the D50, I’ve…
-
Ore w Maikeru – rapmushi
First of all, people who called Google+ a “killer app” the week it was launched are either Brinlickers, or just completely misusing the word. Second, rapmushi is truly a killer…
-
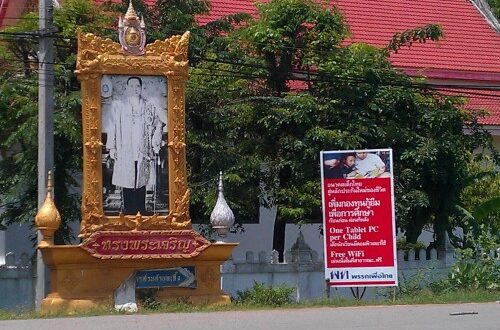
One ThaiPad Per Child
I took this photo a couple months ago out toward the local ostrich farm. The political party that put tons of these signs up on all the roads won Sunday’s…
-
Gmail Dense Preview
I’m previewing the new look for Gmail and really liking it so far. You can access this setting through Gmail by clicking: Mail Settings –> Themes –> Preview (dense) The…
-
Soylent Brown is… Unkoburger?
And I thought Max’s coining of the term, “unko hot dog” was genius… This takes it to a whole new level.
-
iPad 2 Camera vs. Kodak DC120 (2011 Apple tech vs. 1997 SOA tech)
The Kodak DC120 was the first megapixel camera I owned. I got it back in 1998 or so and maybe sprung for an enormous 4Mb compact flash card as well,…